Quick start
In about ten minutes you take a new company from the first sign-in to its first risk assessment with preventive measures. The example is Construcciones Acme S.L., a builder with offices, a warehouse and a construction site; replace the data with yours.
1. First sign-in
The first time you sign in, “Welcome to goPrevina” appears, a short tour you can skip. Change the initial password: your user menu (your initials, top right) → “Profile” → “Password”.
Then open your user menu → “Setup Assistant”. Its first step, “Company Profile”, shows the jurisdiction (“… regulations will apply”): it decides which records are mandatory and which law is cited. If it is not the right one, have it corrected before you go on.
2. Create the work centres
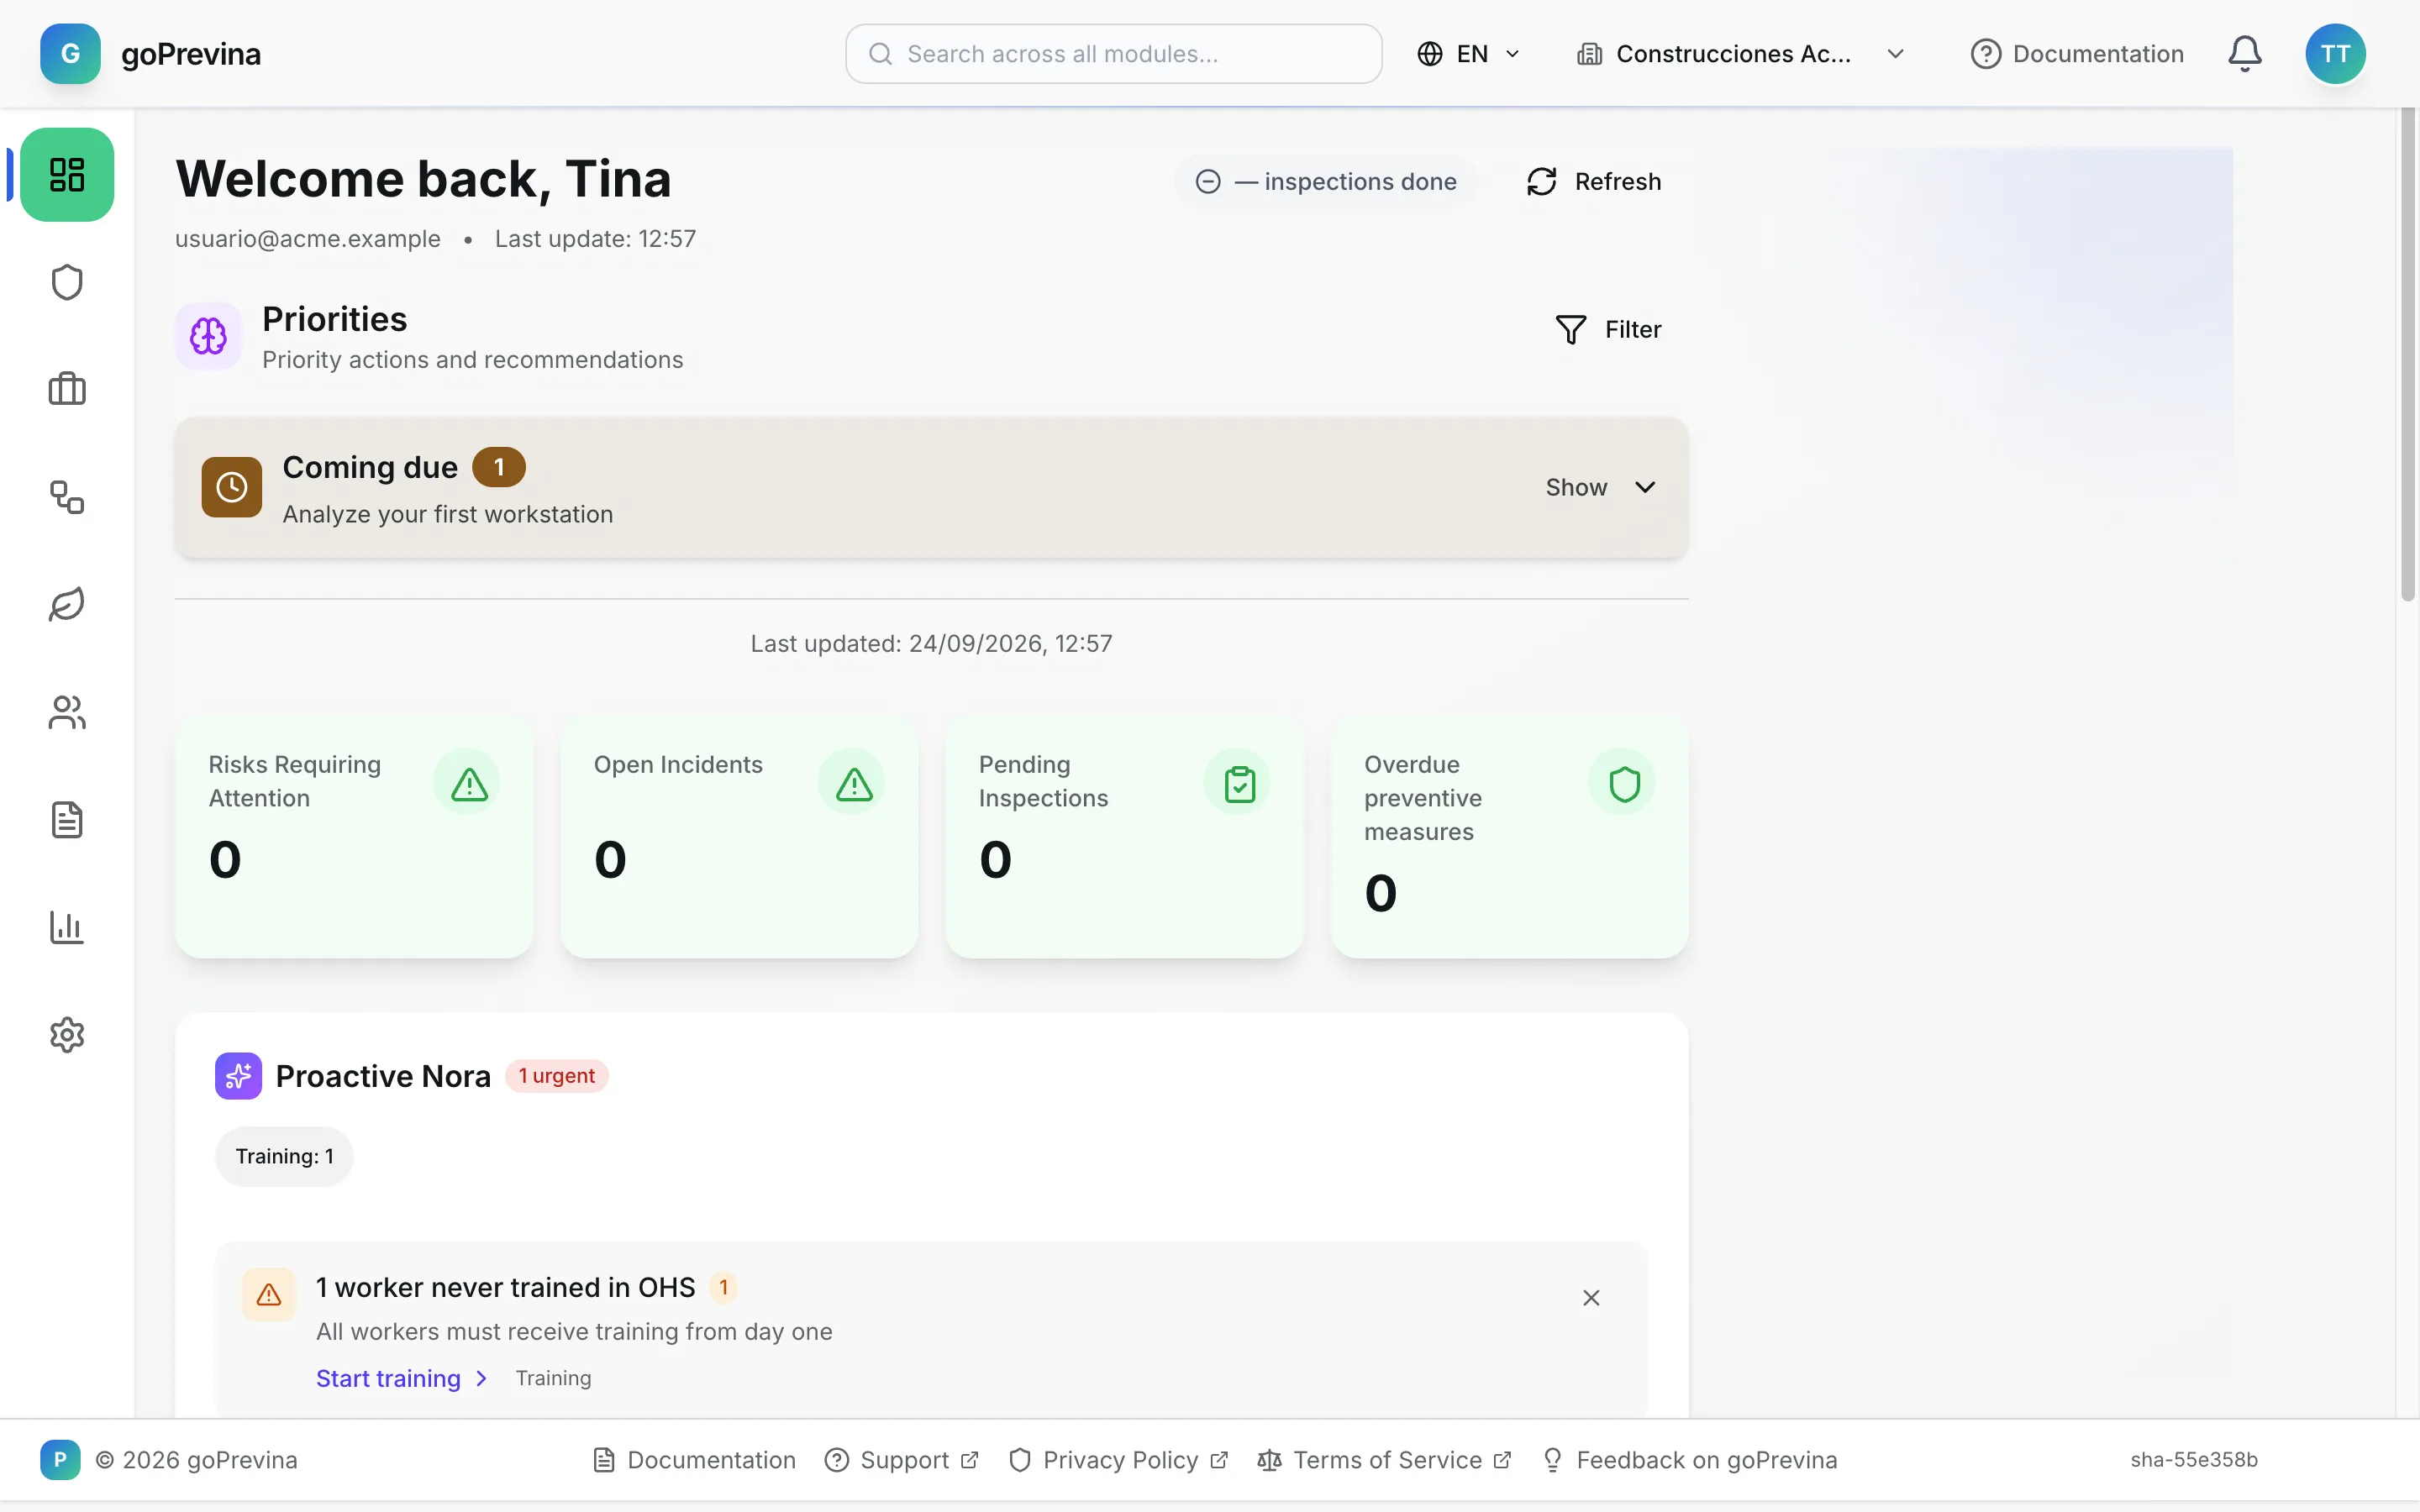
Go to «Administration» → “My Organization” → “Organization” and press “+”. Fill in the “Name” and the “Code”, which are required, and optionally the type, capacity, address and the date it has been operating since. Save with the disk button.
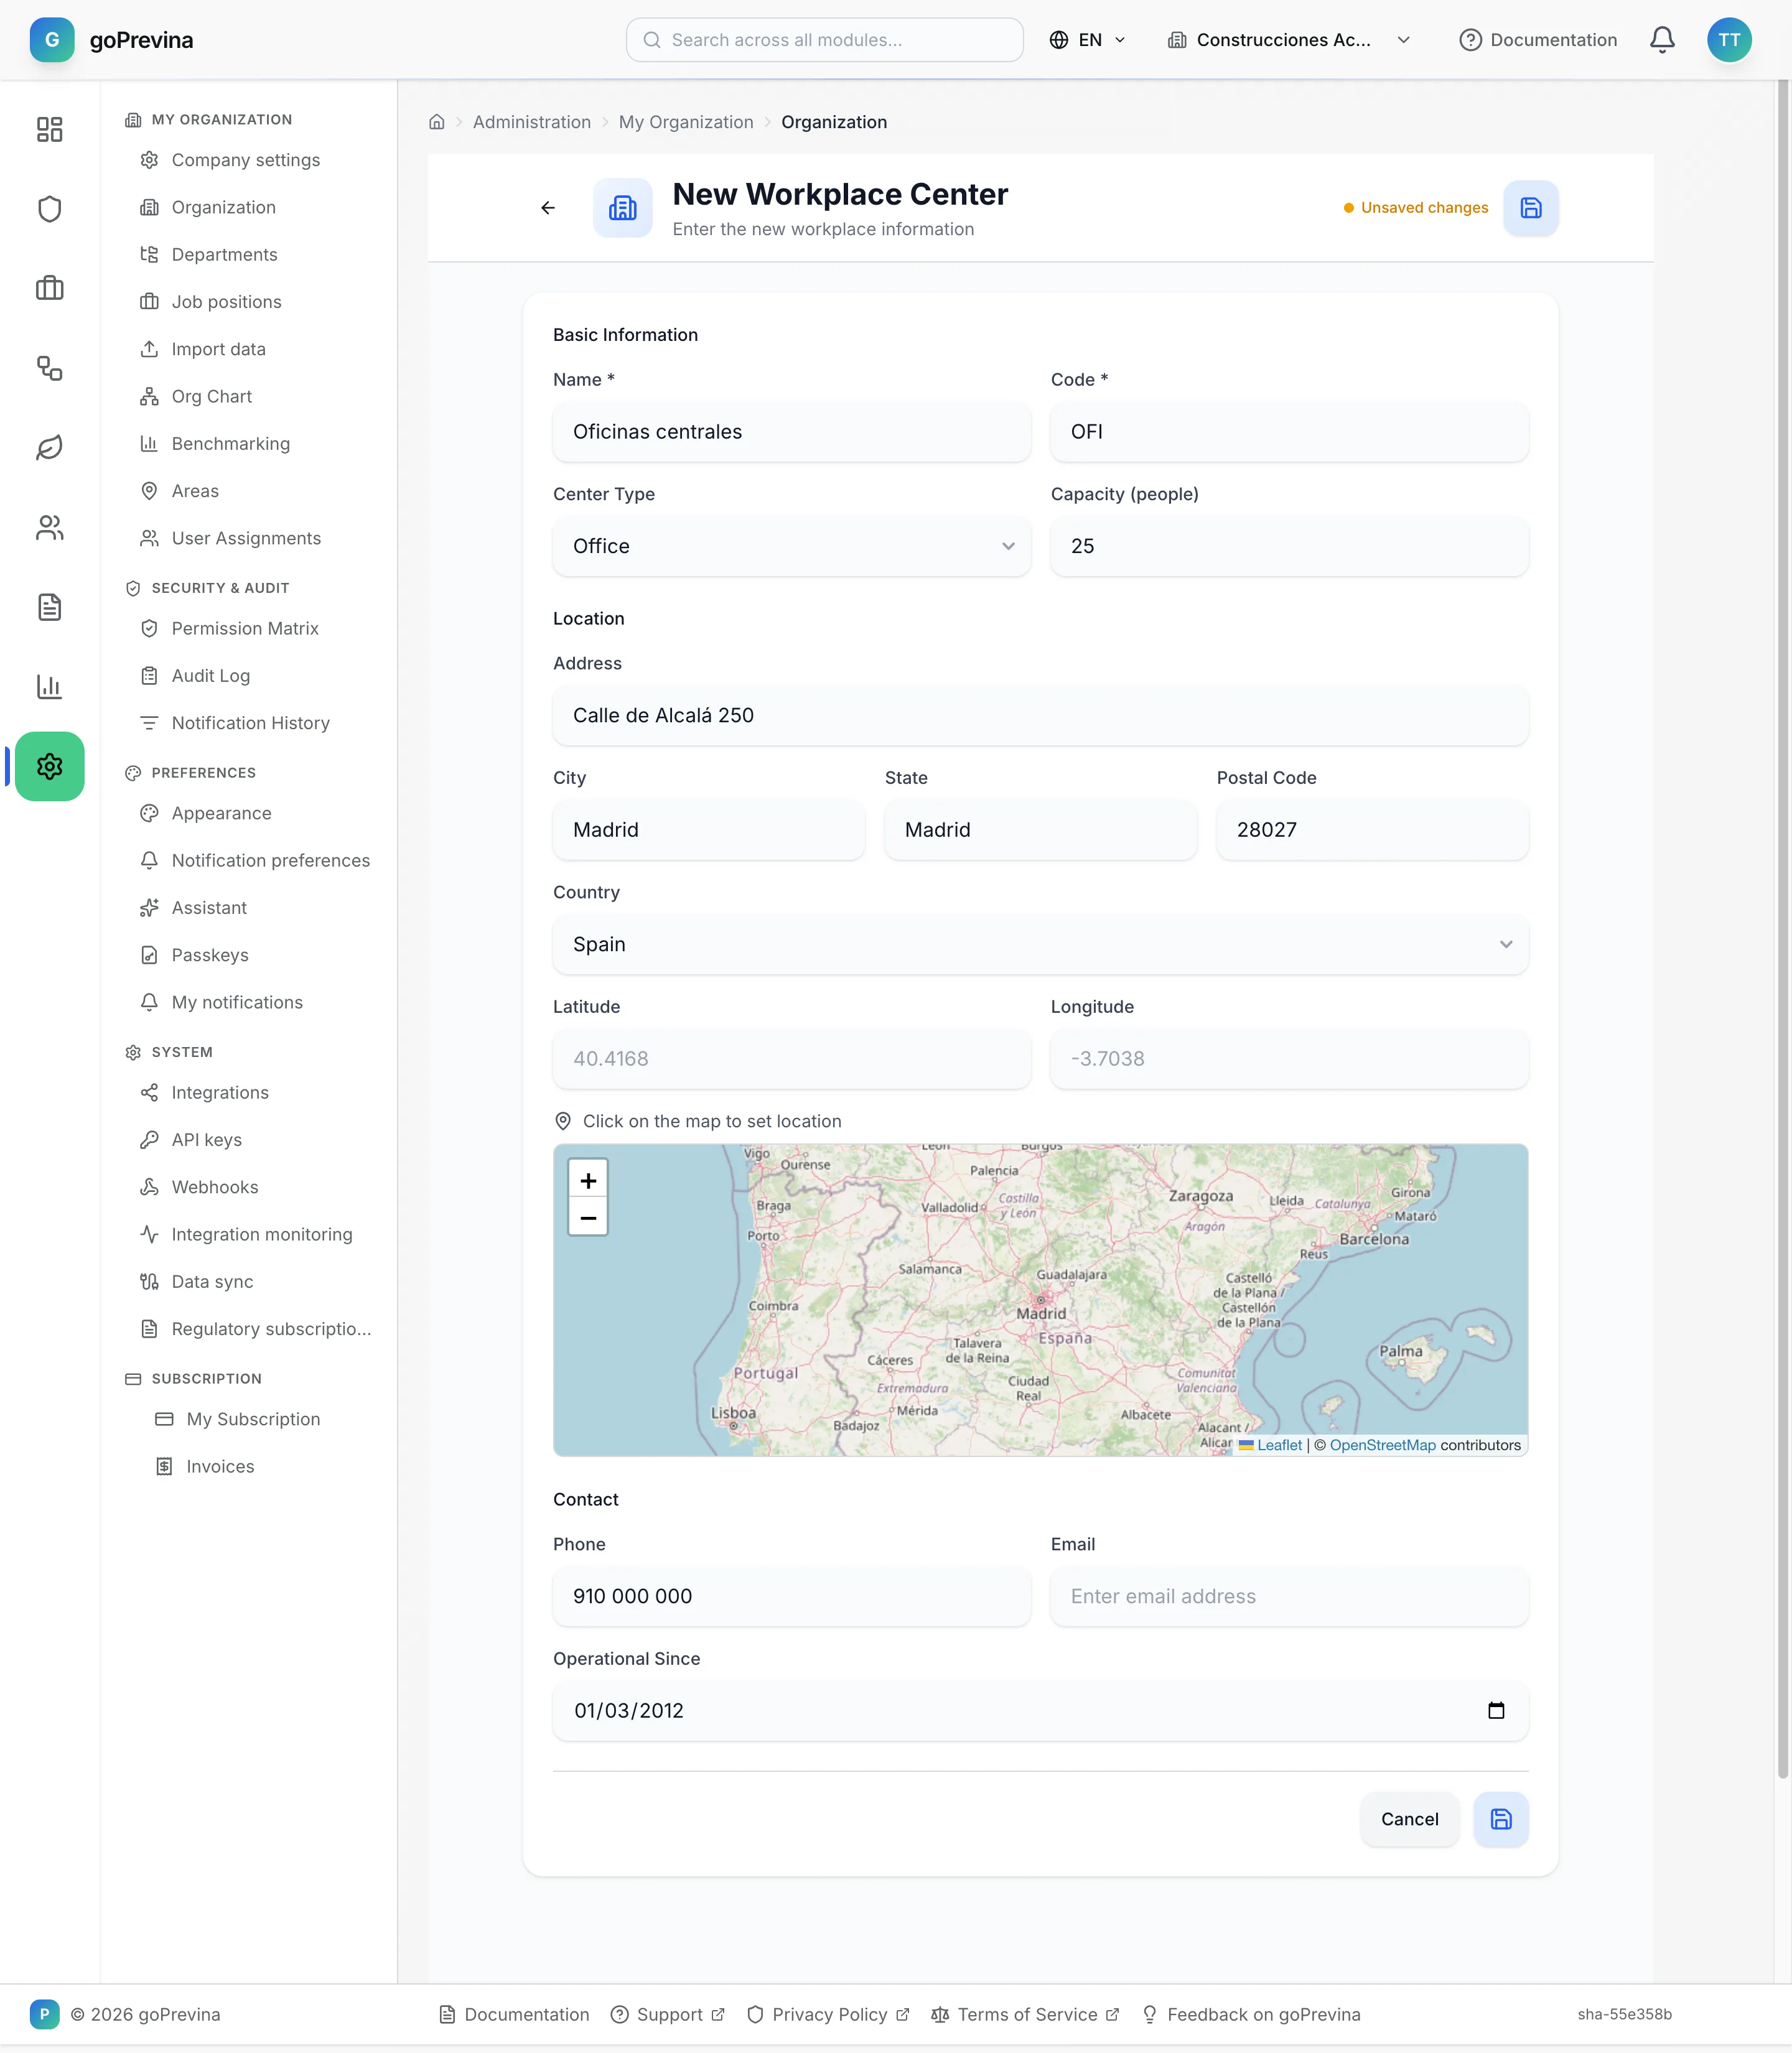
In the example: “Oficinas centrales” (OFI), “Almacén de Coslada” (ALM) and “Obra Residencial Las Encinas” (OBR-01). If you have many, use the import button.
3. Check the list of centres
Each centre appears as a card with its code, type, city and capacity. From the card you can view, edit or delete it; “Map” places them on the map.
4. Add the departments
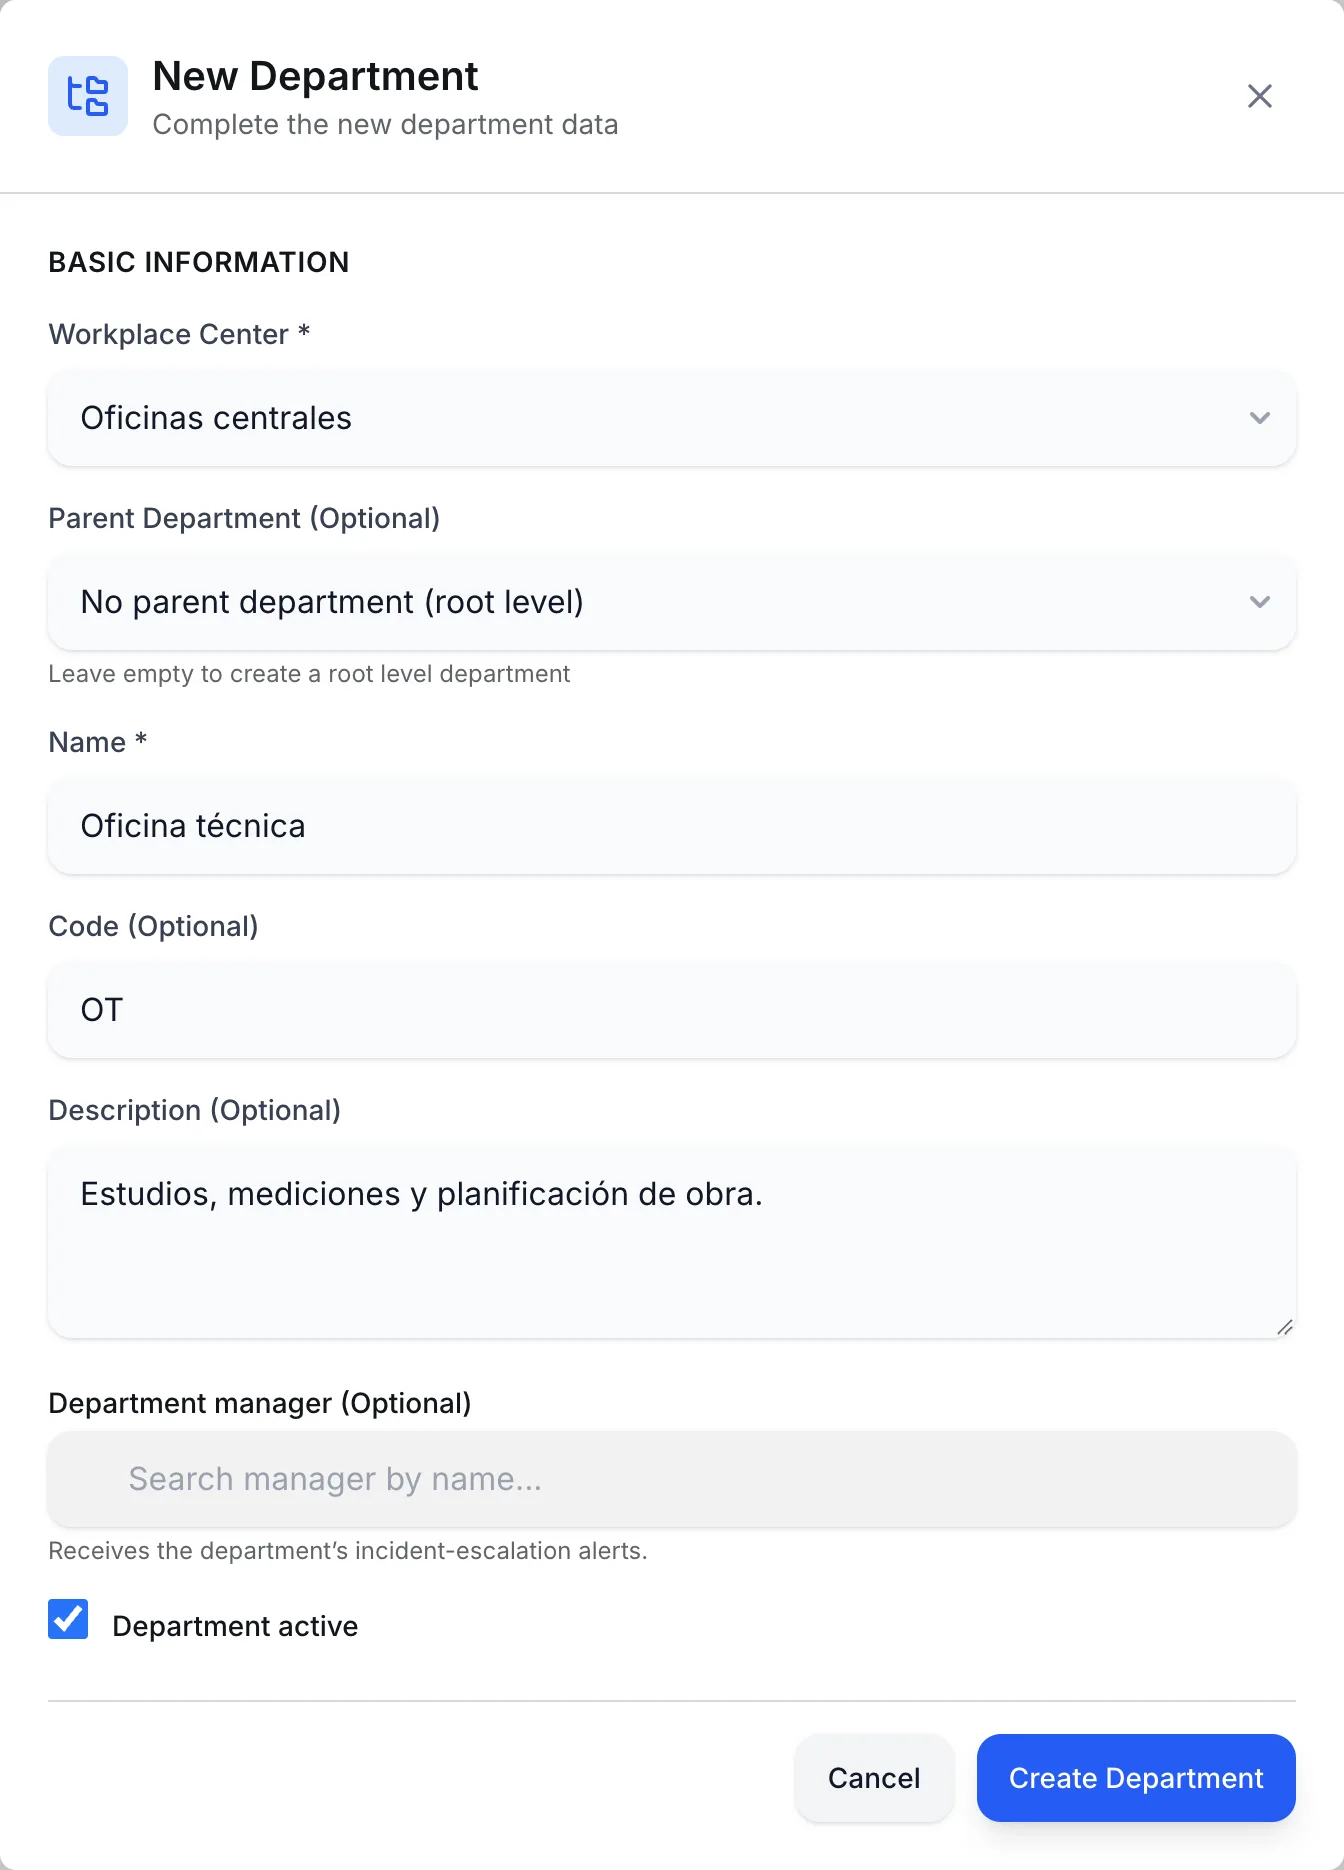
In “Departments”, choose the “Workplace Center” and press “+”. Fill in the “Name” and, optionally, the code, description and manager, who receives the incident-escalation alerts. “Parent Department” nests one department inside another.
In the example: “Oficina técnica” and “Administración” at the offices, “Logística” at the warehouse and “Producción de obra” at the site.
5. People and accounts
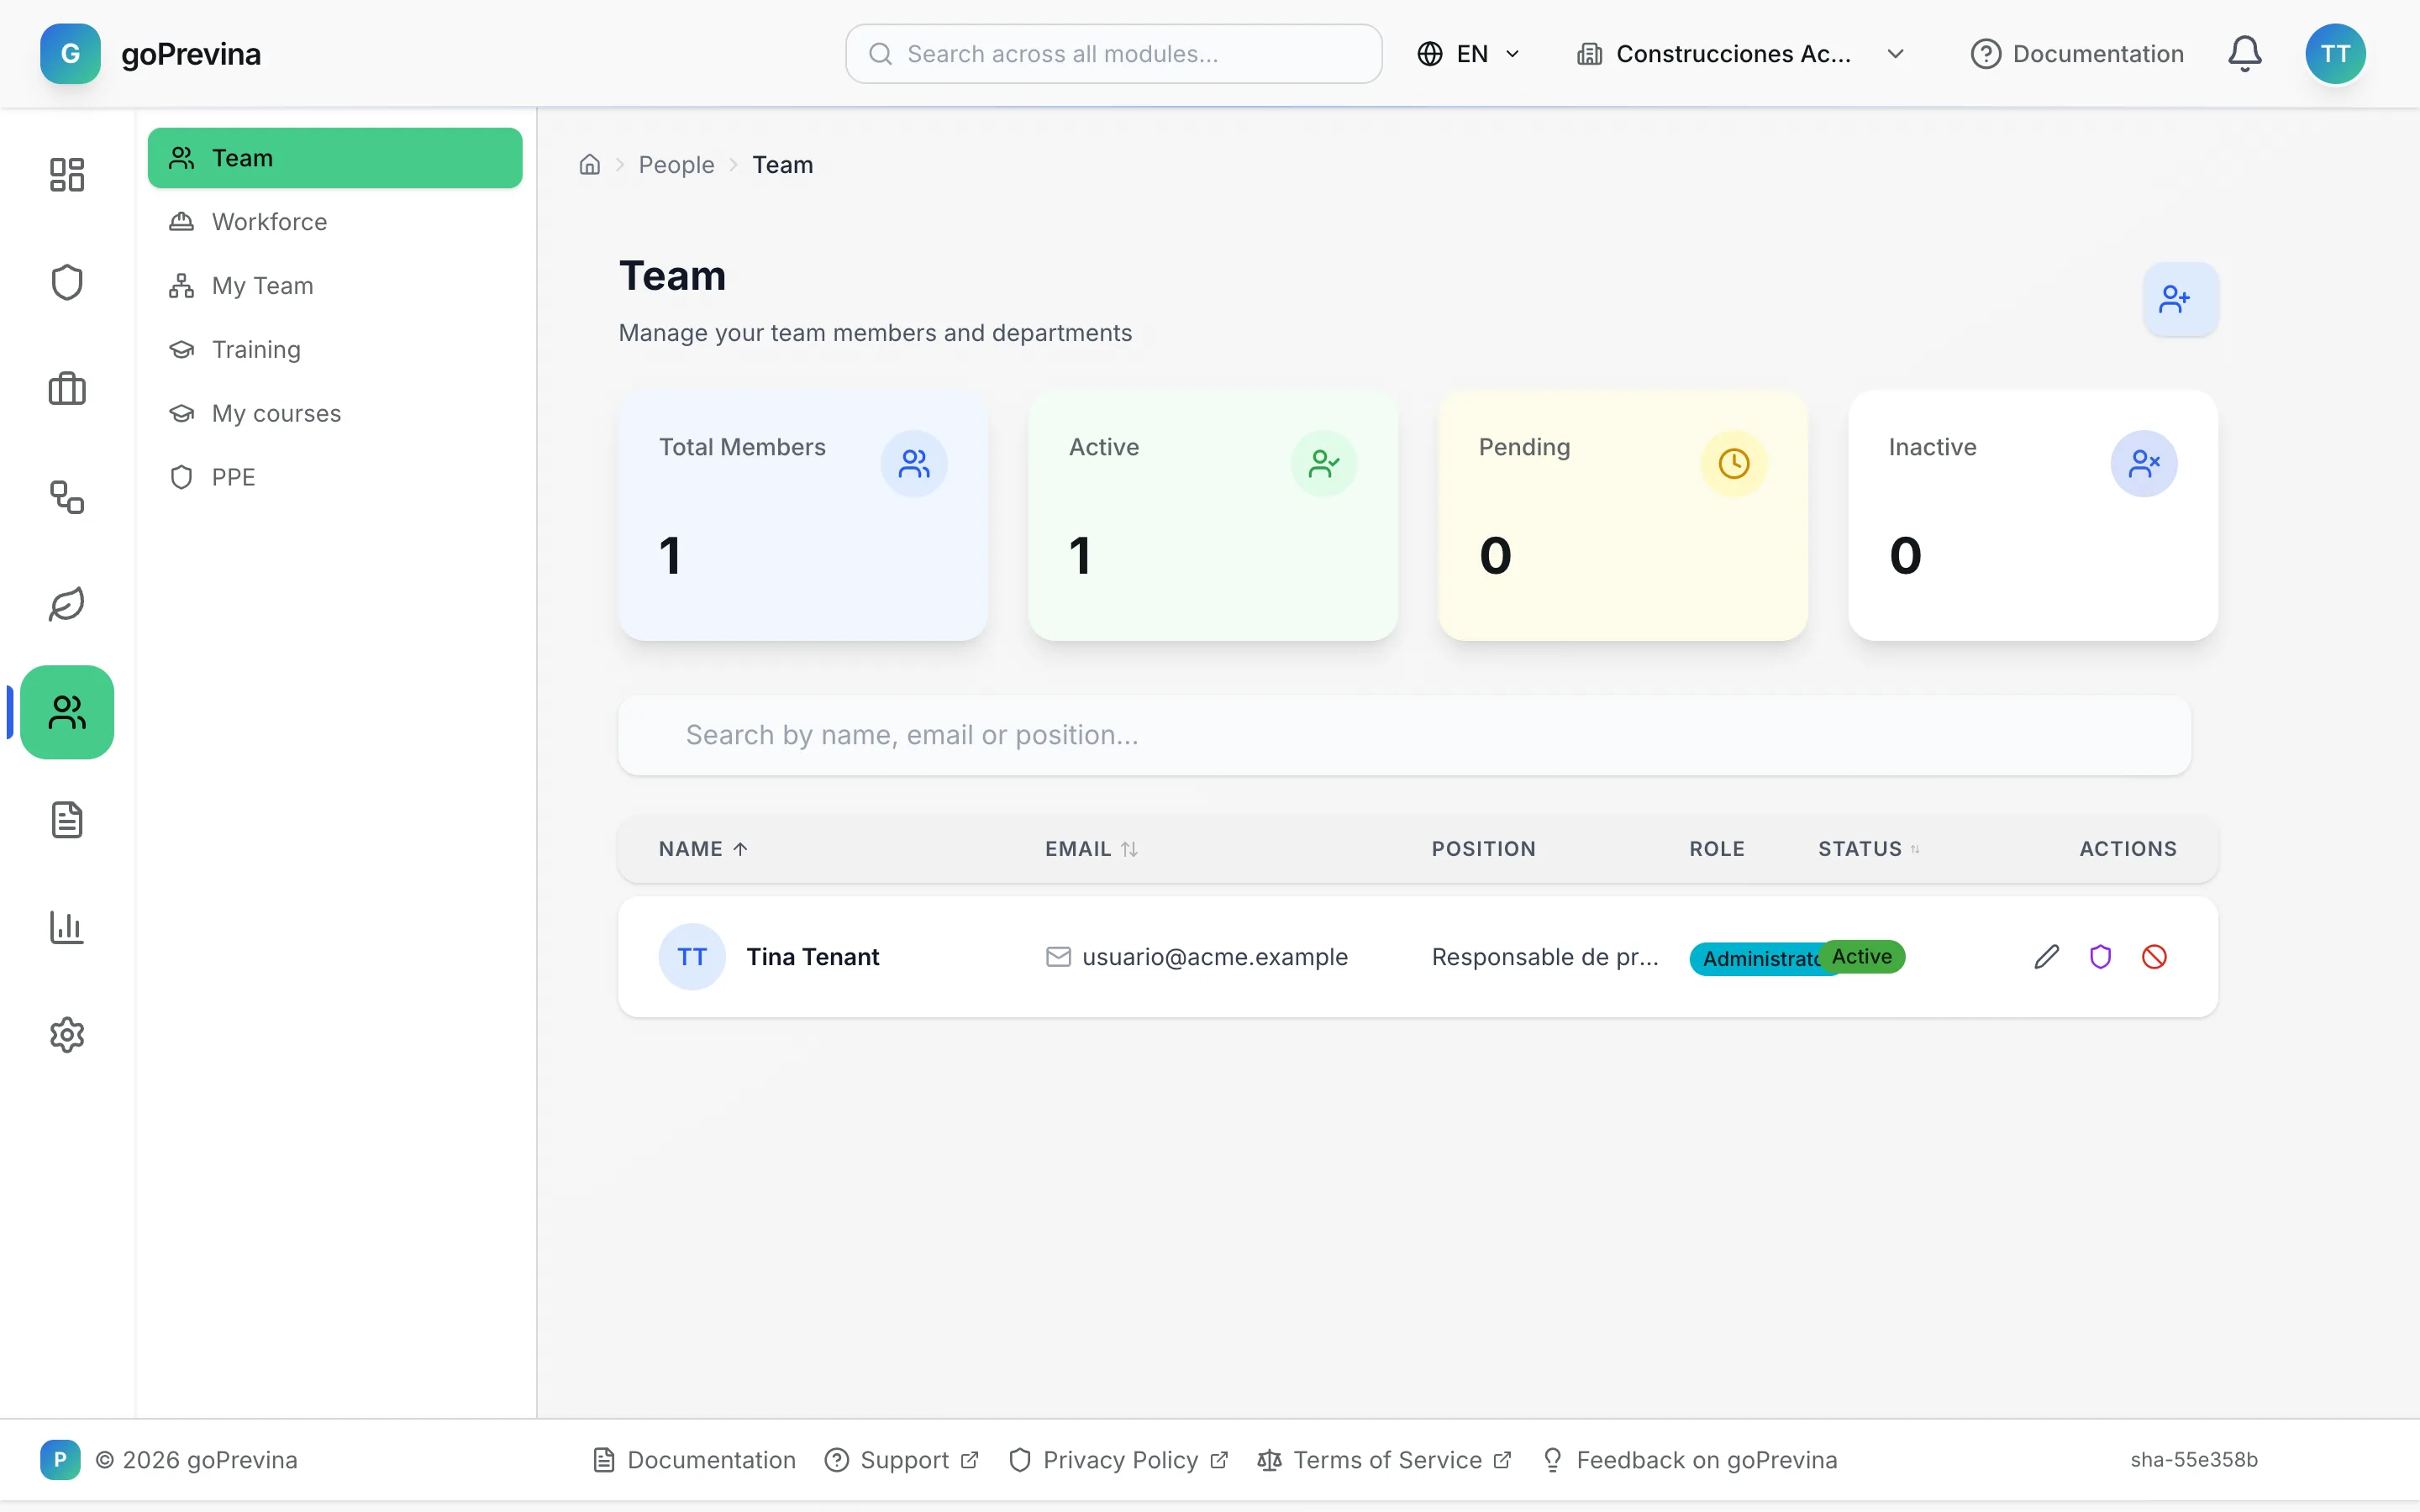
Load people into «People» → “Workforce”, whether or not they have email, and give each one their centre and position. Only give an account to whoever will use the application: «People» → “Team” → “Invite Member”, with the role “Viewer”, “Editor” or “Administrator”.
6. Your first risk assessment
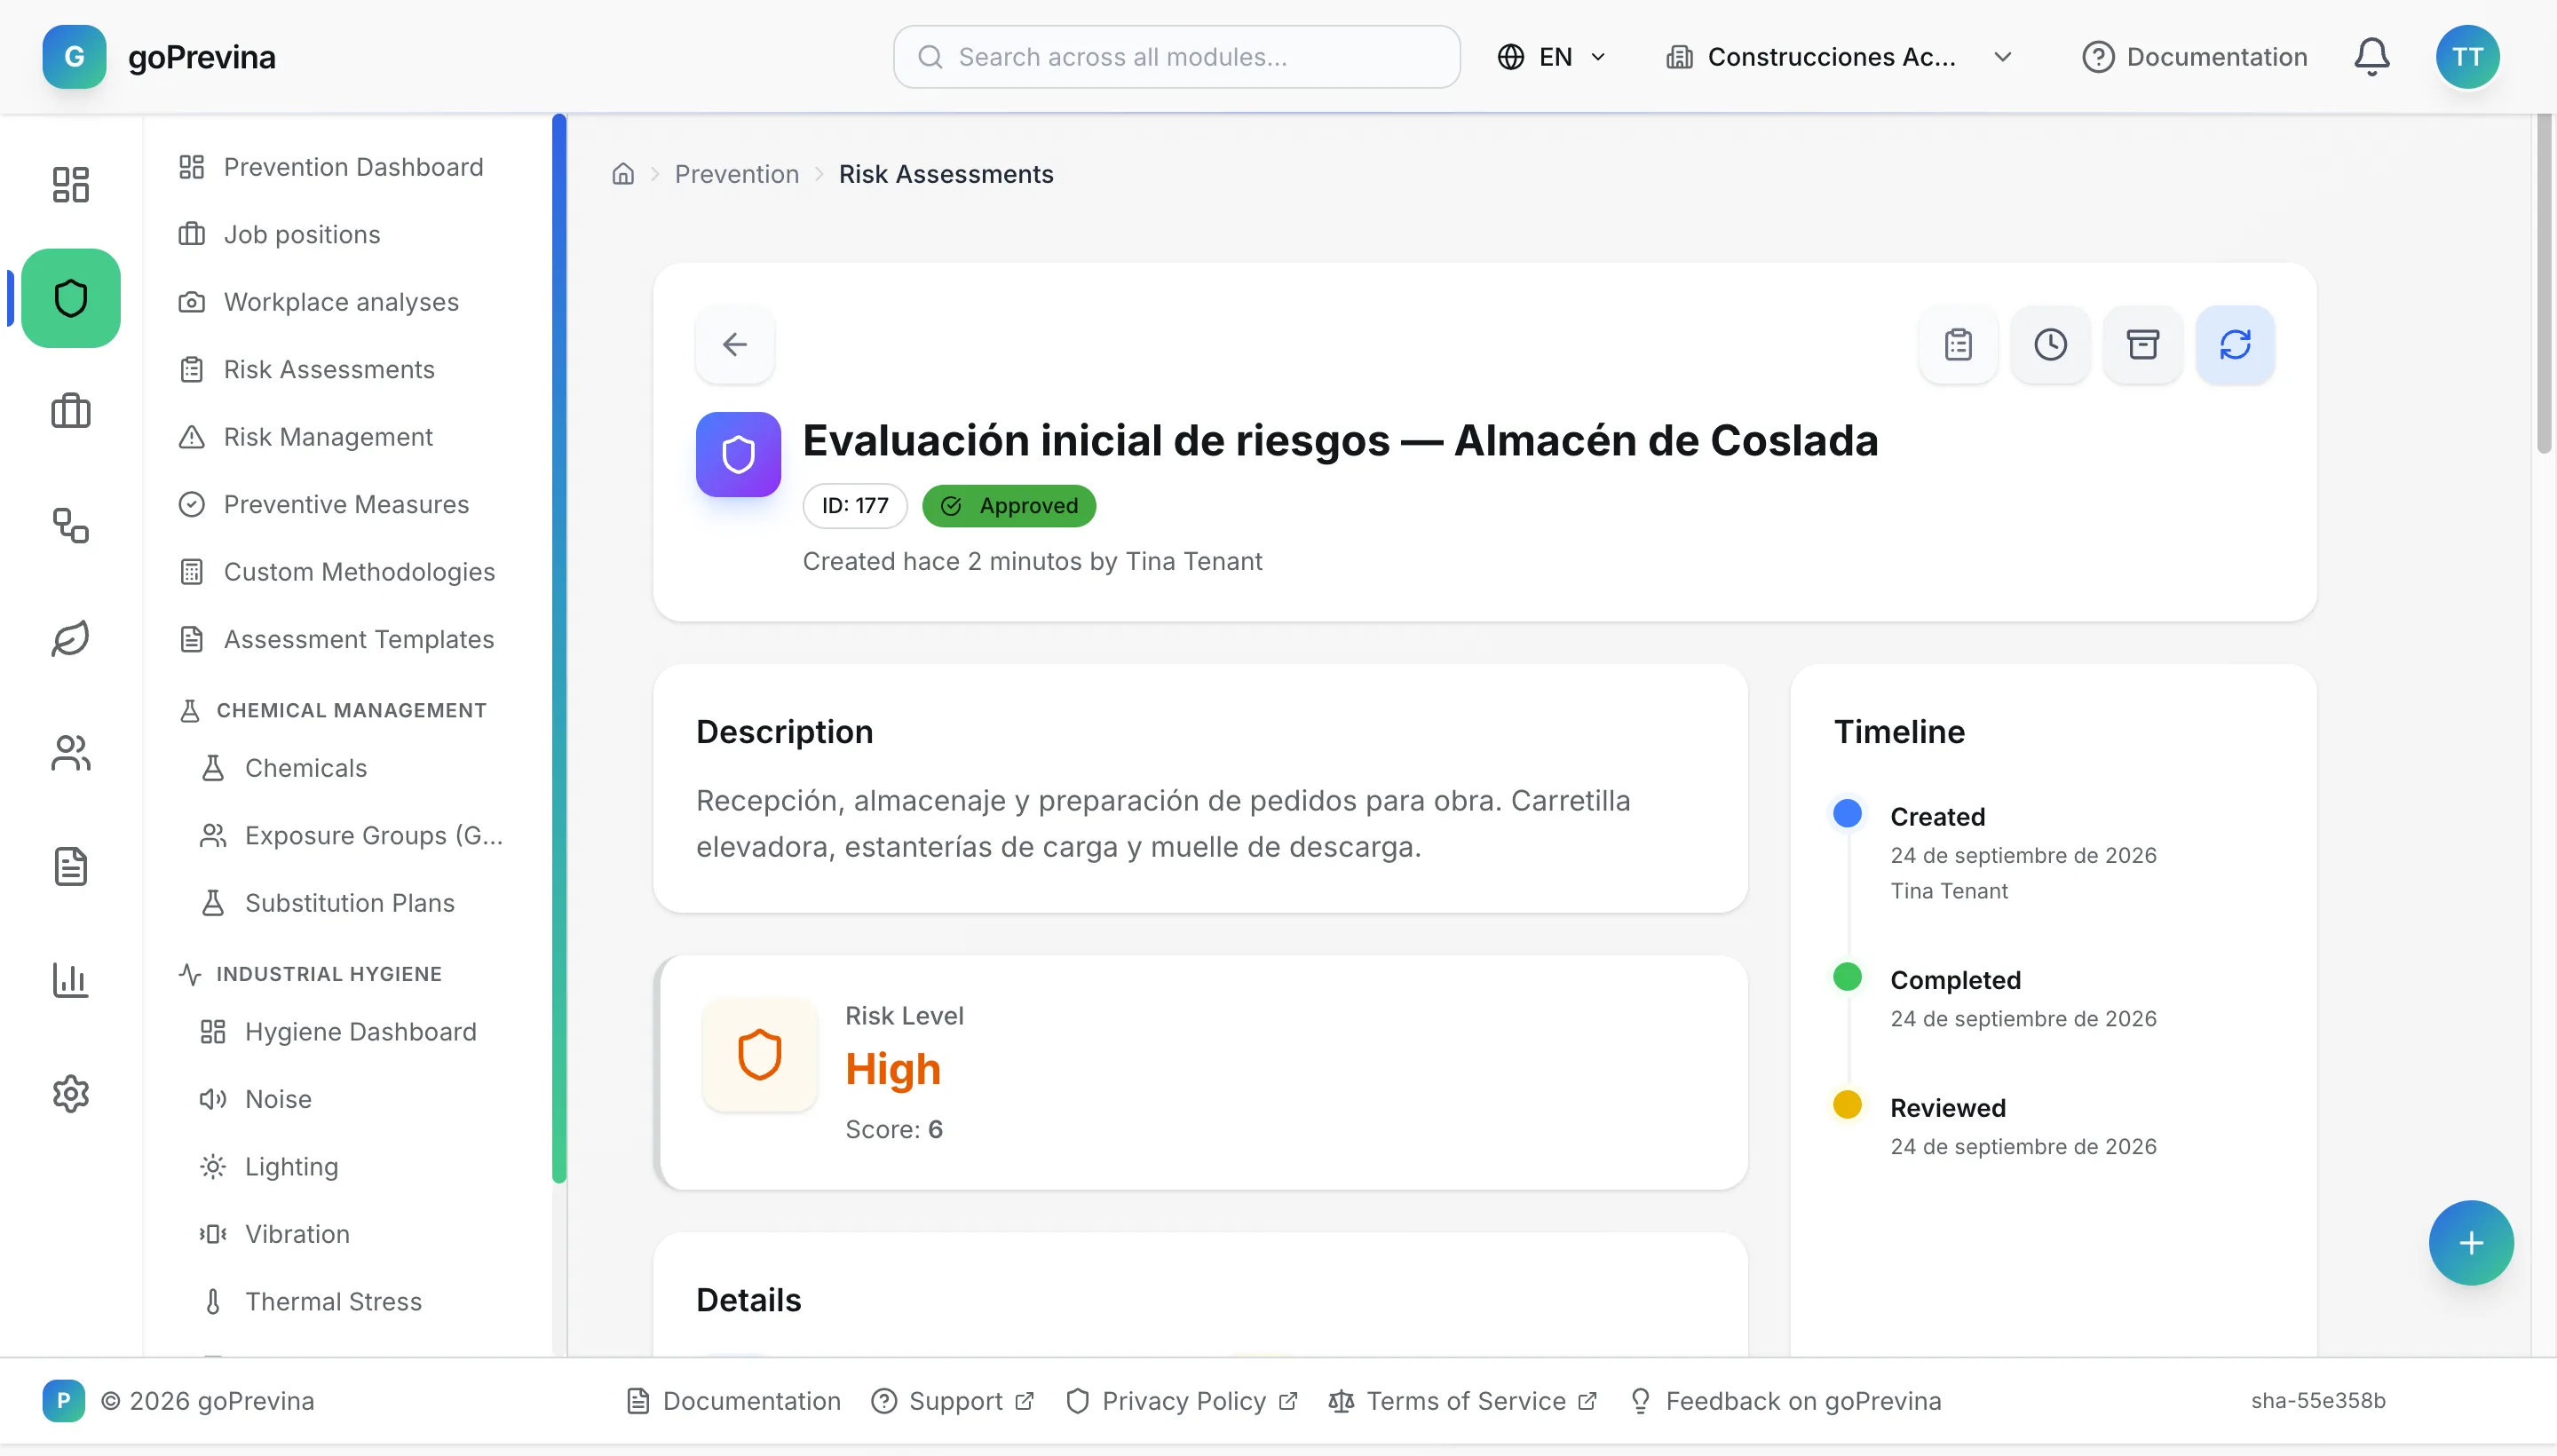
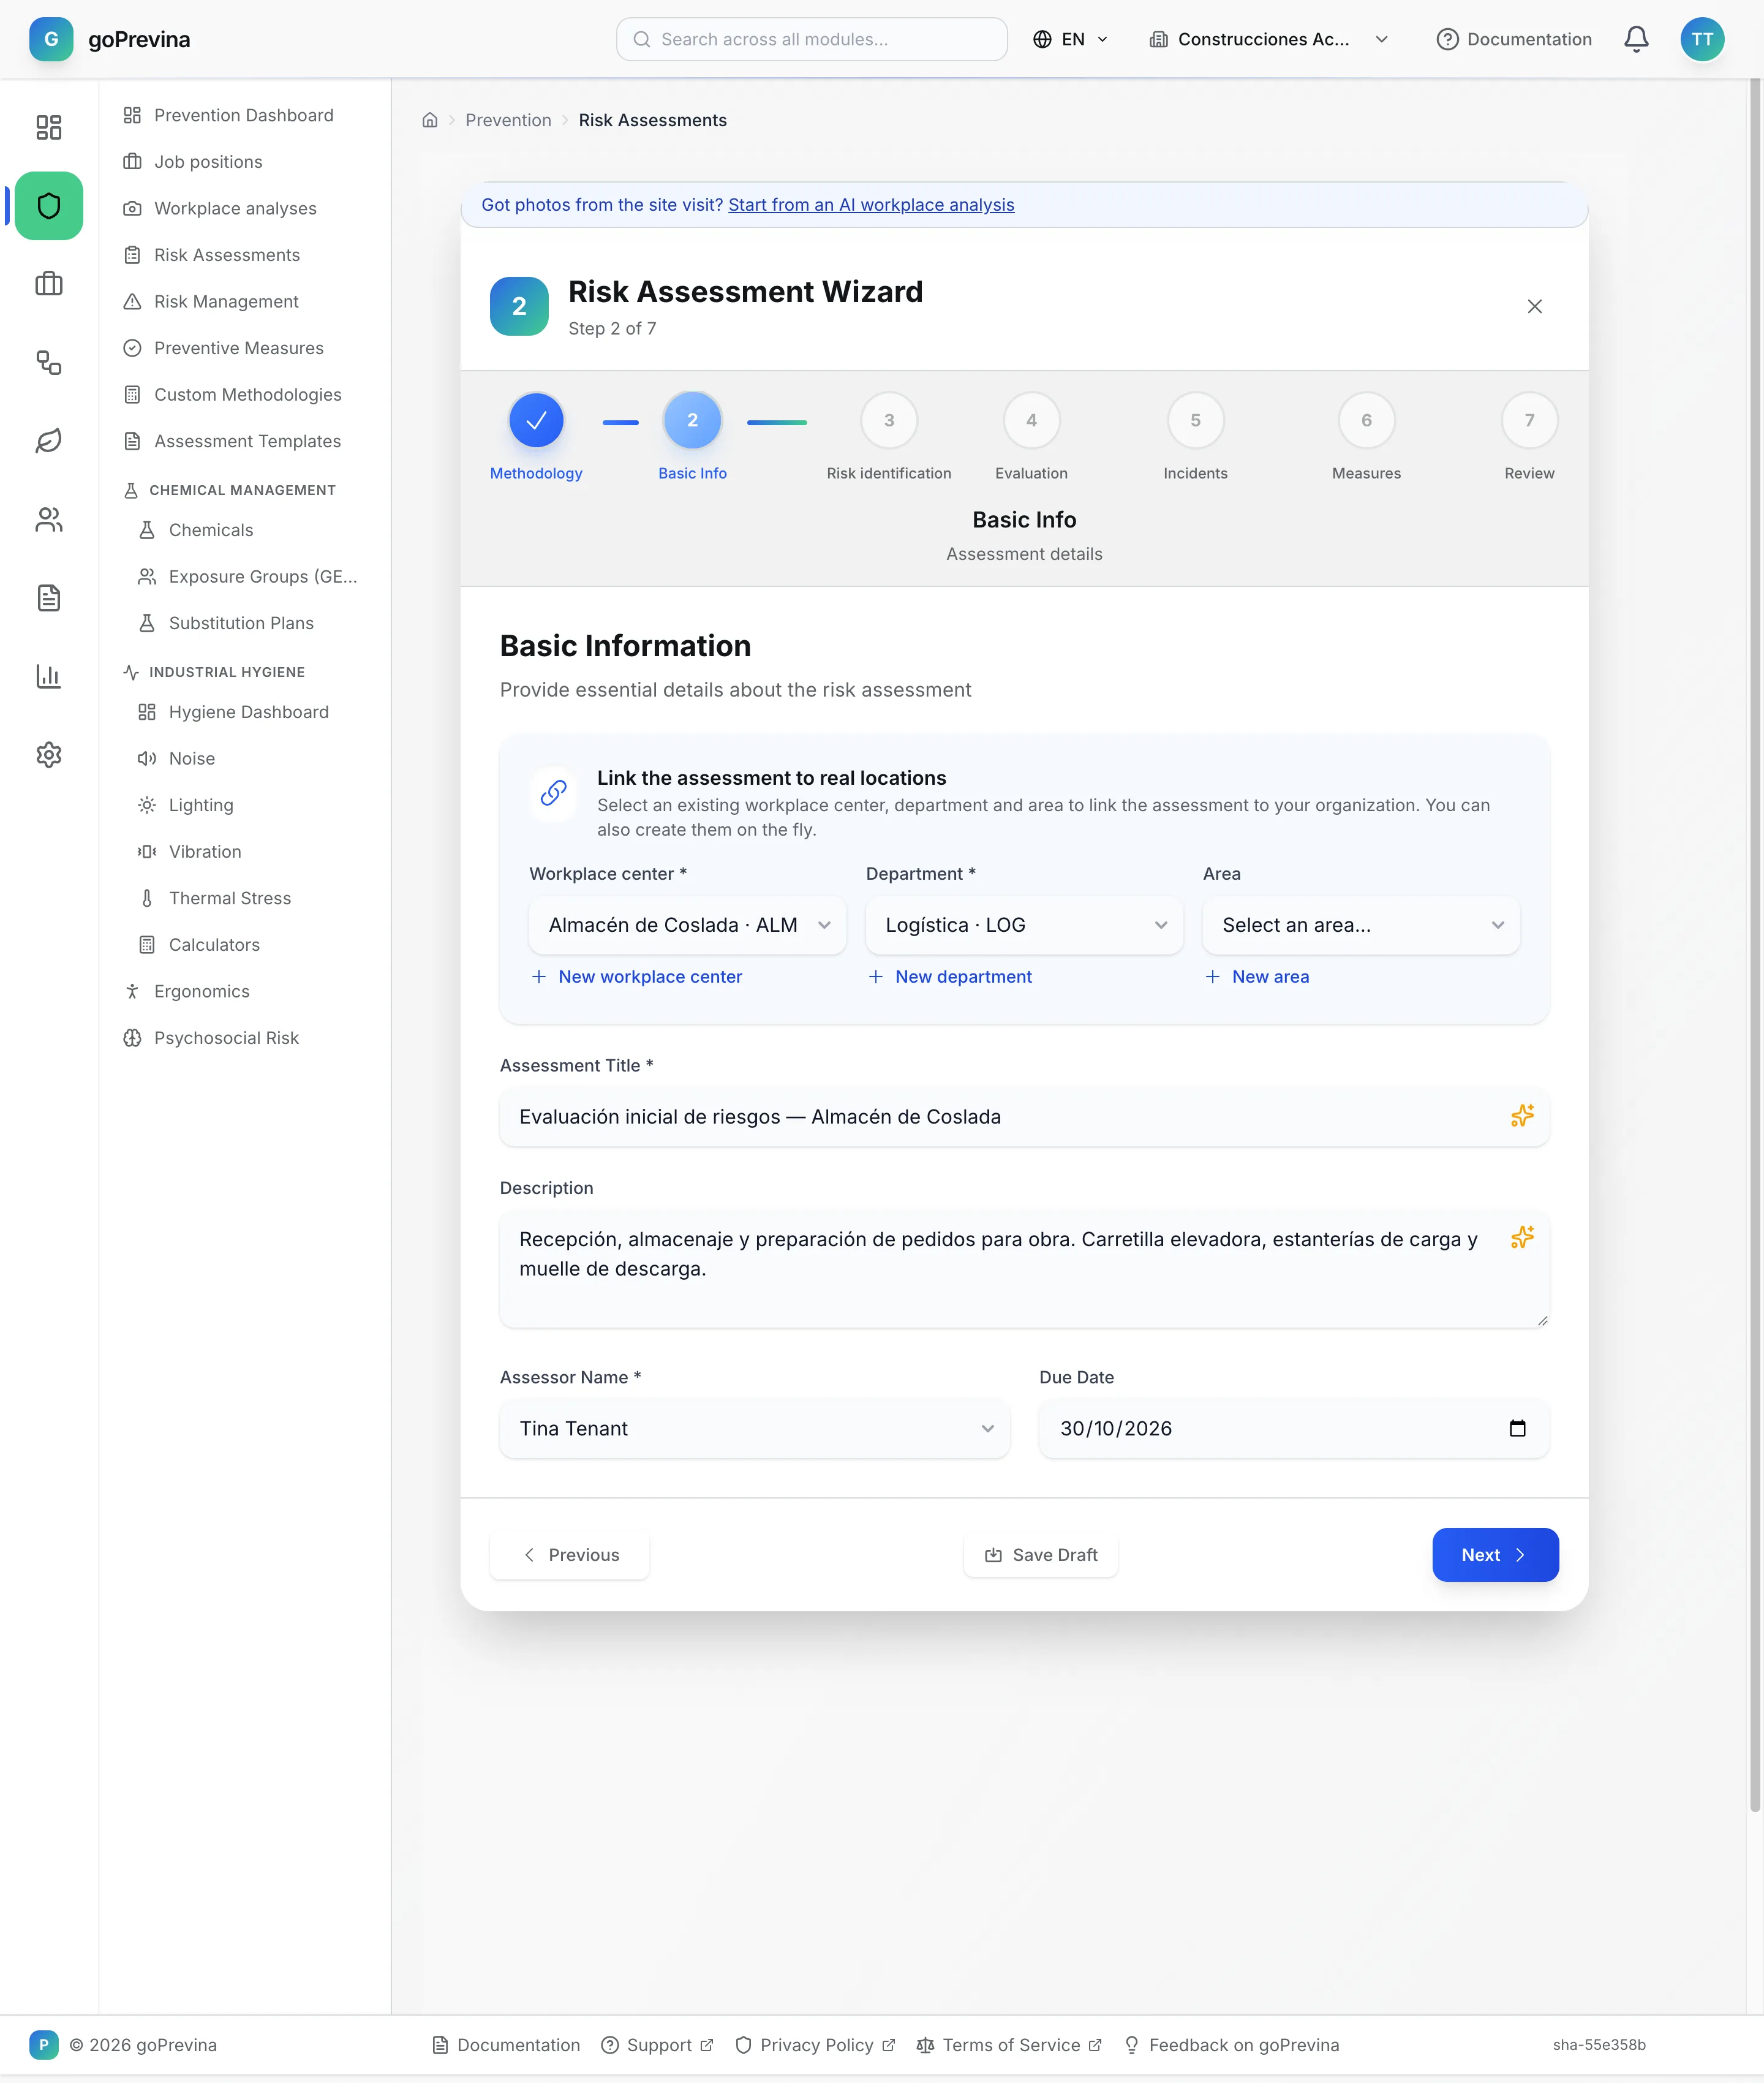
Go to «Prevention» → “Risk Assessments” → “Create Risk Assessment”. The wizard has seven steps. Four are enough to start: choose the methodology (in the example, “INSST general method (3×3)”), fill in the “Basic Info” (centre, department, title and assessor), add the risks and score each one.
In the example, the warehouse has three risks: being hit by a forklift, objects falling from racking and strain when unloading sacks.
7. Add the preventive measures
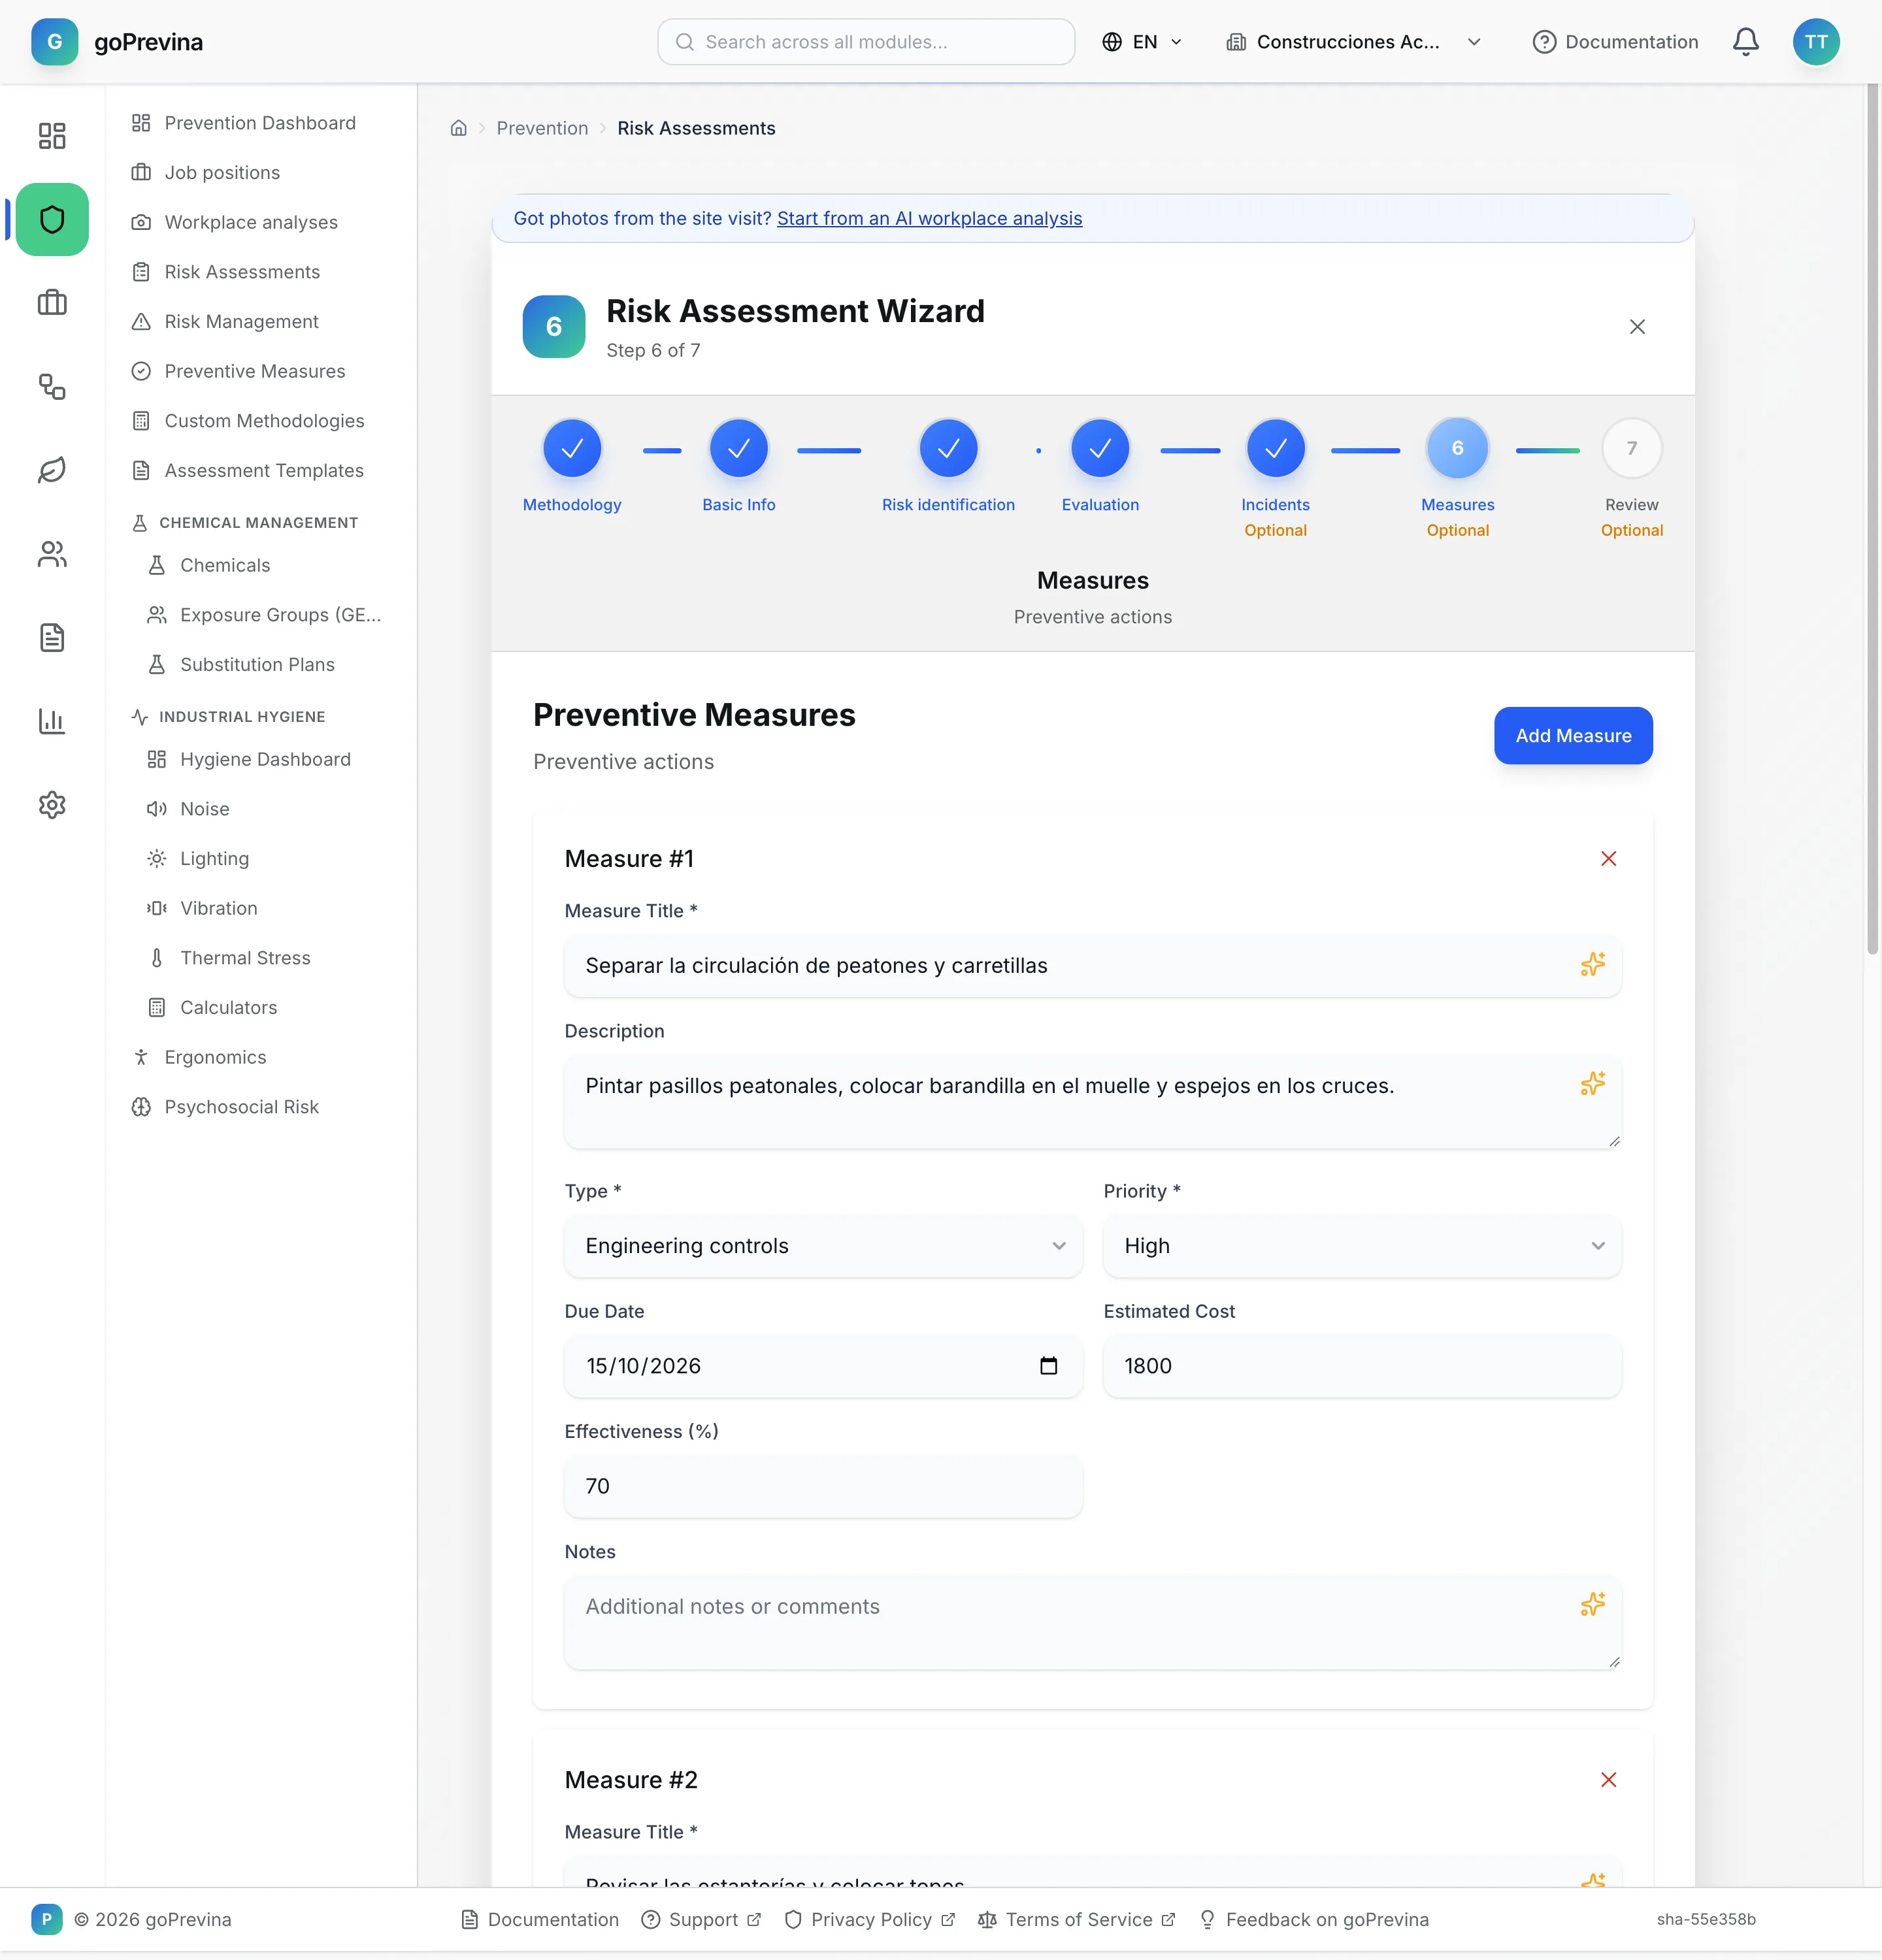
In the “Measures” step press “Add First Measure” and fill in for each one the title, type, priority and due date; cost and effectiveness are optional. Check the summary in the last step and press “Complete Assessment”: the assessment is saved as “Draft” with its risks and measures.
8. Review and approval
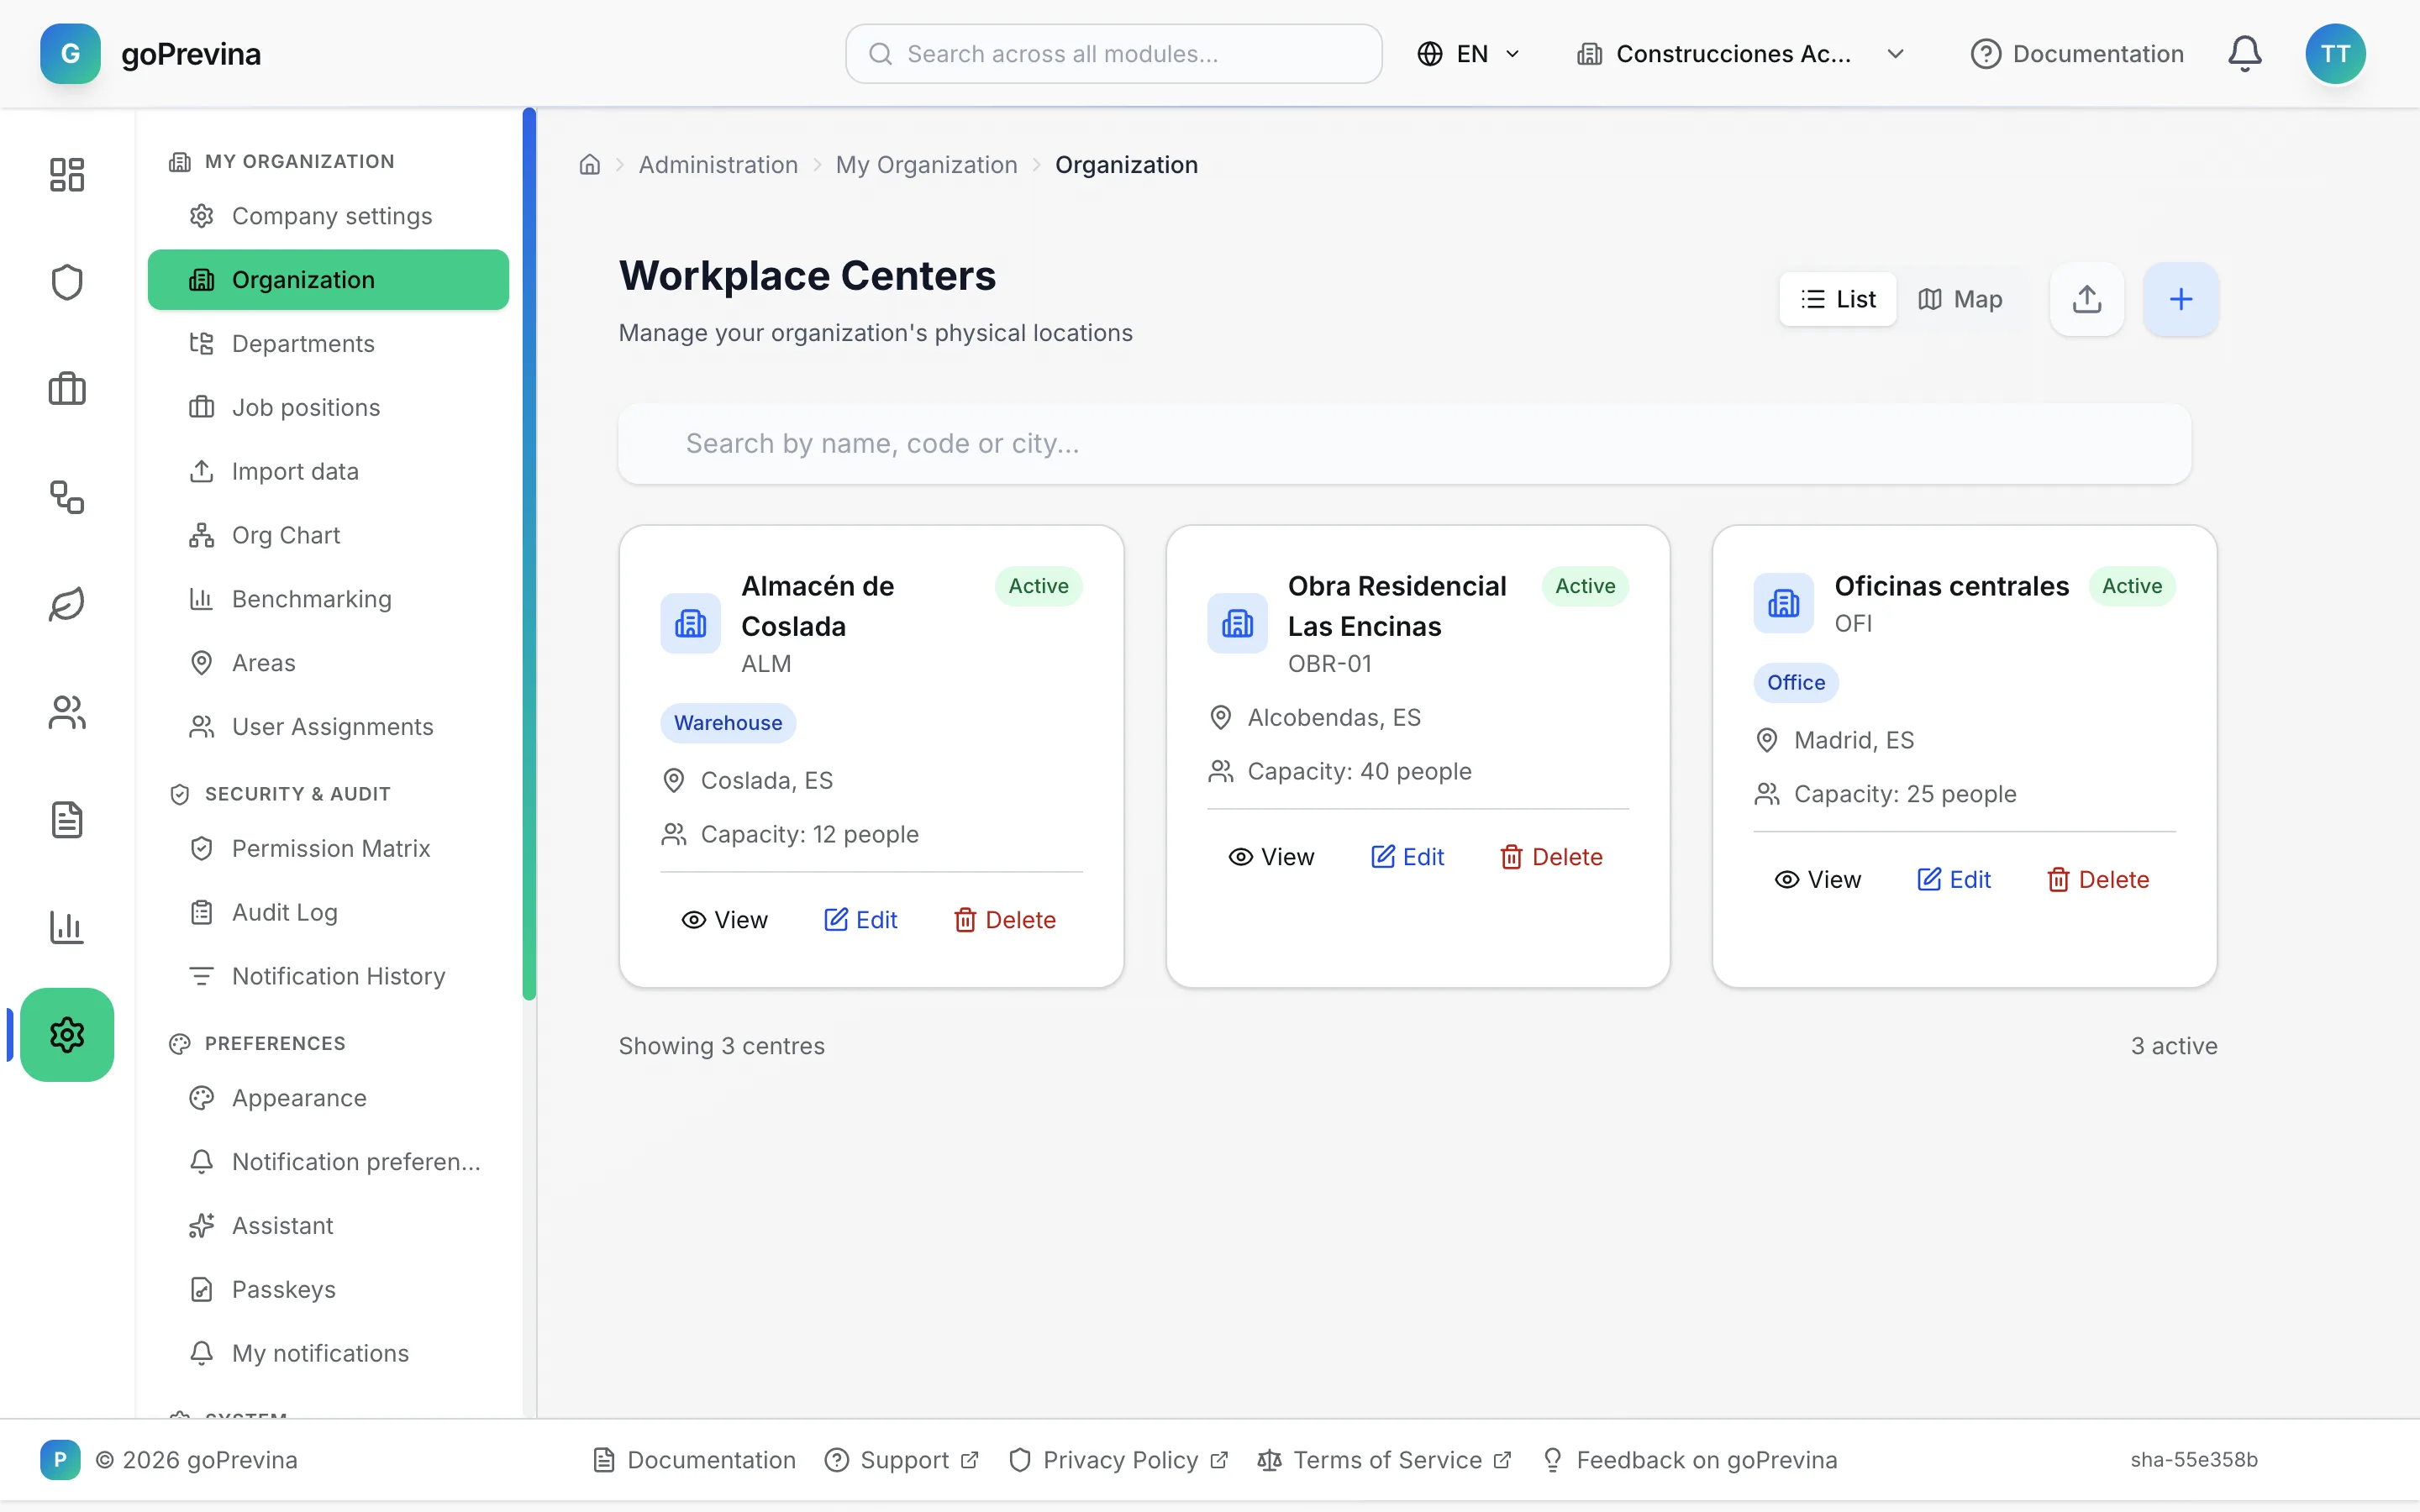
Open the assessment and press “Submit for review”. An administrator approves it with “Approve” or sends it back with “Reject”. The measures already appear in “Preventive Measures” and in the “Preventive planning” from the moment you complete the wizard, and the «Dashboard» counts them.
To learn every option, follow the risk-assessment tutorial.